Laser PM2.5 Sensor–SDS011 – Update

Link to original post: Laser PM2.5 Sensor–SDS011 – Build

We’ve been having crystal-clear weather for months and the pollution monitor here at the house has been logging almost flat-line, crystal-clear pollution data.

However, this afternoon, a neighbor started to burn some brush and it got away from him a bit. The resulting smoke filled the air.

I opened up the website https://aq.ajosoft.com/index.php?StationID=2166&Country=USA&sort=0&units=0 to see the current PM2.5 and PM10 readings and something was wrong! Still flat-line, crystal-clear readings.  Time for some debugging…
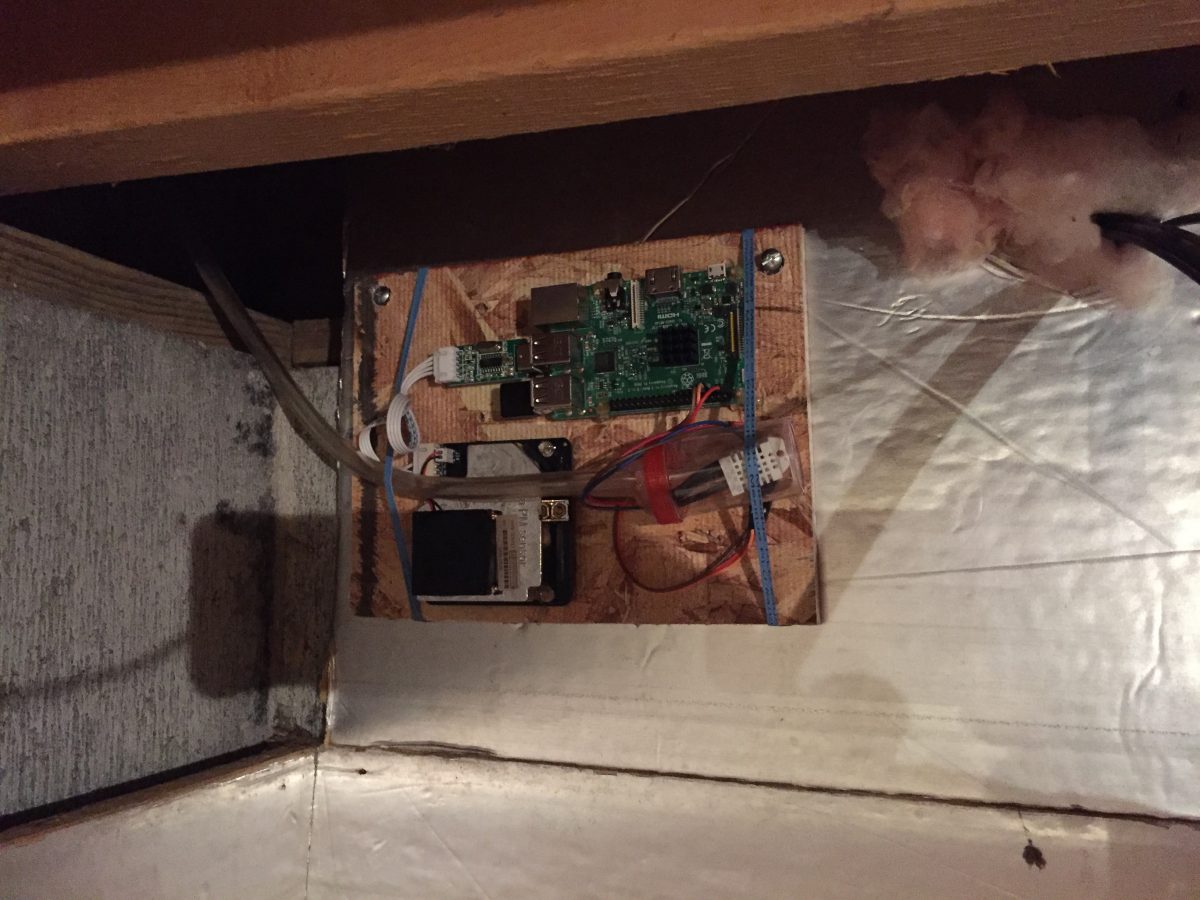
SDS011 / Raspberry Pi pollution monitor project board located in the basement of the house.

First thing was to go down and look at the project board. Everything looked good. However, inspection of the outside plumbing tube clearly showed an insect cocoon of some sort plugging the input air tube.

My bright idea was to blow the tube clear. I huffed and puffed into the tube and nothing happened. I sucked and nothing happened. I tried alternating blowing and sucking and nothing happened. In desperation I tried one more really hard blow and the cocoon broke free and I cleared the line.

I wish I would have taken a photo. The plastic jar with the DHT22 humidity sensor did exactly what it was supposed to do (besides give air plumbing room for the sensor itself) – it caught the cocoon.

ONLY IT WASN’T NICE NEAT COCOON – it was a cocoon containing about 100 GROSS TINY WORMS. I’m so glad it didn’t break free when I was trying to suck the tube clear as they would ended up in my mouth!!!

Anyway, pollution data is accurate again. The numbers are moving as expected, still clean air but not quite so flat-line.

Link to original post: Laser PM2.5 Sensor–SDS011 – Build

Laser PM2.5 Sensor–SDS011 Build

Way back in the “Thailand Days” several of us guys helped run the Grace International School Tech Club. We had a lot of fun working with high school students making cool things. Together we made multiple robots using the the Arduino microcomputer platform.

However, this project started out as a pollution monitoring project.  Chiang Mai, Thailand suffers from sever seasonal pollution, mostly as a result of agricultural burning in the hottest time of the year. The pollution is so severe that students are kept indoors on the worst days.

Back about 2012, the US Consulate donated an research-grade Met One  E-Sampler Particulate Monitor to the school for us to operate and publish the air pollution status to the community. This was really touchy technology and we fought internet battles to keep the sight up. But, with help from Chiang Mai University we measured the weight of smoke, calibrated this very high-tech device, and used it until it broke.

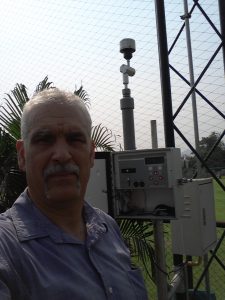
Ken with the Met One Pollution Monitor mounted at the Grace International School soccer field.


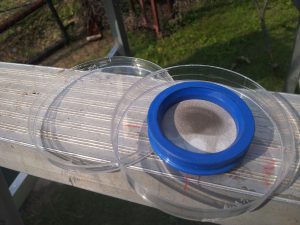
Actual air pollution captured by the Met One device. This was taken to the Chiang Mai University laboratory where it was cleaned, dried, and weighed to calculate the actual amount of pollution in a given volume of sampled air.
Ken with Chiang Mai University air pollution research scientist at the Chiang Mai University Air Pollution Research Station.


After multiple attempts to keep this device operational we gave up and switched to a more DIY solution. Working with Andrew May, the head of the Grace International School Science Department, and Adrian Oliver, the owner/operator of the PocketWeather application we built a set of simple, but accurate and reliable, pollution monitors that we could operate ourselves based of the Nova Fitness Laser PM2.5 Sensor–SDS011 module. The spec sheet for the SDS011 can be downloaded here.

My first version was Arduino based and operated as one of the official Chiang Mai, Thailand pollution monitoring sites, along with Grace International School. When we moved back to Michigan I changed over to a home-built Raspberry Pi version to be more like the others monitoring devices in the set.

SDS011 / Raspberry Pi pollution monitor project board located in the basement of the house.

My pollution monitor version lives down in the basement crawlspace and is built from a Rasberry Pi communicating to the SDS011 particulate sensor – along with a DHT22 humidity sensor.

The SDS011 is in the lower left hand corner of the project board. The DHT22 is in the little plastic bottle that is part of the plumbing on the lower right of the project board. Of course, the Raspberry Pi is the upper half of the project board.

The Raspberry Pi communicates wirelessly to the Adrian’s PocketWeather  server and can be seen here on this webpage:  https://aq.ajosoft.com/index.php?StationID=2166&Country=USA&sort=0&units=0

Link to update post: https://dataexponent.com/?p=283